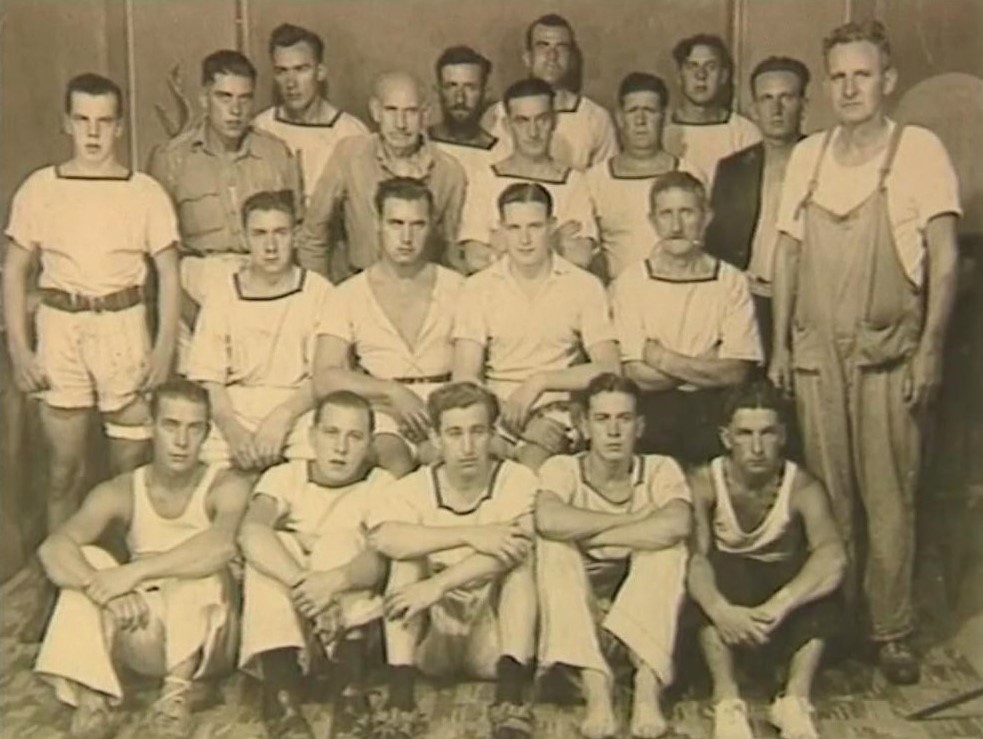
Merchant seaman are arguably the forgotten heroes of World War II. Sailing the unarmed, or lightly armed, cargo ships that delivered troops and vital supplies was a dangerous game. Merchant shipping endured constant threat of attack from the air, or from the silent, unseen submarines beneath the waves, and one in four merchant seamen who served in WWII lost their lives. Crewman ranged in age from mere children in their mid-teens, to seasoned mariners in their seventies.
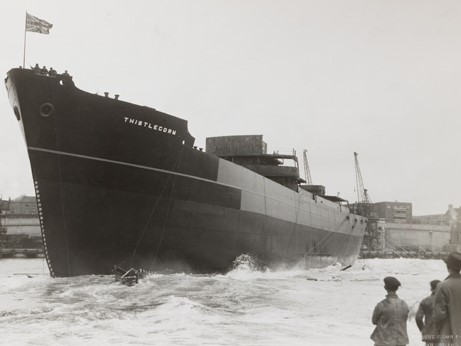
On board the Steam Ship Thistlegorm, when it left its home port of Glasgow on June 2, 1941, was a crew of 32 merchantmen and 9 Royal Navy personnel. The navy sailors had been assigned to operate the ship’s armaments, which consisted of two guns that had been added to the stern deck. Amongst the crew was Able Seaman John Whitham, 21, who remembered: ‘She was a smart ship. I liked it…She looked like being a happy ship.’
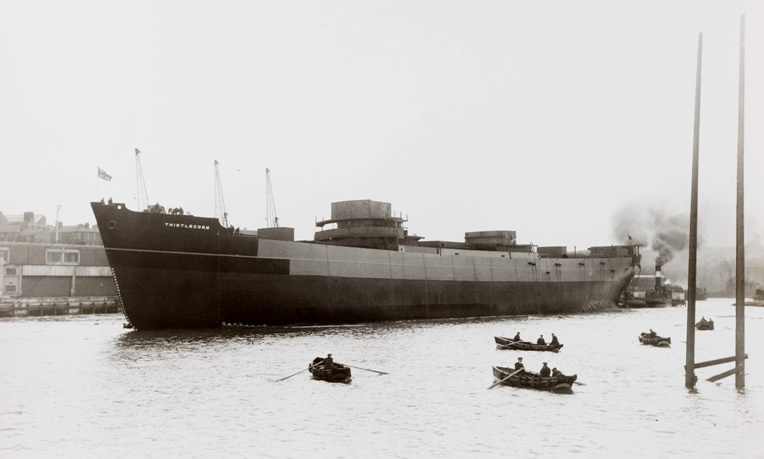
The S.S. Thistlegorm was loaded with supplies for the Allied Forces operating in the western desert, including: Leyland, Morris, Crossley, Ford and Albion trucks; Universal Carriers (a light, multi-purpose tracked vehicle); Norton, Matchless and BSA motorcycles; aircraft wings and engines; ammunition and small arms. With the amount of ordinance on board, Glyn Owen, one of the Royal Navy gunners, recalled: ‘It was quite a laugh amongst the lads at the time that if…we were bombed or torpedoed then we’d need parachutes not life jackets’. Thistlegorm’s load also included two steam engines which were fastened to the deck.
Due to enemy activity, the Mediterranean was deemed too dangerous for the Thistlegorm to traverse. Consequently she sailed south in convoy down the west coast of Africa, stopping briefly in Capetown for supplies. When it came time to leave South Africa, three crew were unaccounted for. Glyn Owen remembered: ‘Just before the ship cast off ropes we saw them coming up the quay…’ Back to full strength, the Thistlegorm turned north heading for the Red Sea, with the light cruiser HMAS Carlisle joining the convoy. Amongst the equipment on board the Carlisle was a rudimentary radar system.
A blockage in the Suez Canal prevented the Thistlegorm from travelling through to the Mediterranean and on to her destination of Alexandria. Its progress stalled, the convoy weighed anchor at the southern entrance to the Gulf of Suez. During their wait for orders, the crew dealt with the heat and boredom as best they could. At night, some of the men slung their hammocks on deck to avoid the stifling heat in their quarters below. In the early hours of 6 October, 1941, a full moon illuminated the convoy. Dennis Gray, a gunner on the Carlisle, noted: ‘…it was certainly possible to see the (Thistelgorm’s) cranes…and we could see nearly all of the other ships at the anchorage…and both sides of the Red Sea at that point because of this huge moon, which was the most striking thing I’ve ever seen…’
Glyn Owen was asleep in his hammock on the deck when the sound of an aircraft woke him. He assumed it was an Allied plane, as otherwise the guard ship Carlisle would have detected and engaged it. On the Carlisle, Dennis Gray recalled: ‘We were able to see this plane and it was very low…and coming…very fast. And it dipped over the S.S. Thistlegorm, about masthead height. If the wheels had been down I would think it would have hit the mast of the Thistlegorm…we couldn’t fire…because it was not possible for us to depress the guns any further and there would have been danger to the other ships and indeed probably to our own stern.’ Similarly, another gunner, Samuel Burwell, remembered: ‘One night we were at anchorage…and these aircraft came really low. We never picked them up….we never got a shot in, because we didn’t have a chance…you can’t open fire for fear of hitting other escorts or other merchant ships’.
Two German bombers, returning from an unsuccessful mission to locate and attack the troop ship RMS Queen Mary, had spotted the convoy at anchor. Selecting the Thistlegorm from the potential targets, two bombs struck Hold Number 4 in the aft of the ship. When the subsequent fire detonated the ammunition stored in the hold, the Thistlegorm was doomed.
The crew abandoned the blazing, sinking ship, the fortunate via the two successfully launched lifeboats, and the remainder entering the water amongst the exploding ammunition that zipped and popped around them. When describing the moment of leaving the ship, Glyn Owen stated: ‘I remember thinking my folks will never find out how I died’. Watching from the Carlisle, Dennis Gray recalled the Thistlegorm, it’s back broken by the explosions, sinking in a ‘v’ shape with both the bow and stern angled upwards. ‘It didn’t take very long…one minute it was there and the next minute is wasn’t. It was as quick as that.’ Wireless Operator Ray Gibson, who escaped the Thistlegorm in one of the lifeboats, remembered ‘…there was a big bang, and when we looked up she was gone’.
HMAS Carlisle took the merchantmen and Navy personnel on board, but nine of the crew were missing. Five of the navy gunners (Archibald Giffin aged 18, Donald Masterson 32, Christopher Todds 25, Thomas Woolaghan 24, Arthur Kain 26), including the three men who nearly missed the imminent departure of the Thistlegorm in Capetown, had been killed in the bombing. Four merchant seaman had also lost their lives (Alfred Kean 68, Joseph Rolfe 17, Kahil Sakando 49, Alexander Watt 21).
With its cargo still packed tight in its remaining three holds, the S.S. Thistlegorm was to remain largely undisturbed, a silent cemetery on the floor of the Red Sea, for the next 50 years.
(Amongst other sources, much of the information in this post was obtained from the BBC documentary ‘Last Voyage of the Thistlegorm’, BBC, 1995. Other details, and the quote from Samuel Burwell, are from a series of oral history interviews conducted with Mr Burwell by the Imperial War Museum, 2001)
If you liked this post, you may also enjoy Diving the Thistlegorm, The Saint Didier
Do you have a particular interest in World War I, II and the Cold War? Check out my other blog Ghosts of War. If you enjoy military history, and want to know what it’s like to visit both significant and lesser-known wartime locations today, there’s something there for you.
Leave a Reply